AI Book Cover Generator for Hardcover Books Explained
AI book cover generator for hardcover books
Estimated reading time: 7 minutes
- An AI cover generator speeds creative iteration but must be paired with exact trim, bleed, and spine math to produce print-ready dust jackets.
- Produce polished front art with AI, place it in the correct dust jacket template, verify safe zones and 300 DPI, then export upload-ready EPUB/PDF files.
- For non‑fiction authors who need scale and reliable, upload-ready files, BookAutoAI combines cover generation, EPUB conversion, and book production into a single, production-aware system.
Table of Contents
- Why an AI book cover generator for hardcover books matters
- From front art to full dust jacket: dimensions and templates
- Key technical factors
- Trim size
- Spine width
- Bleed
- Resolution
- Safe zones
- Where templates come from
- Tips to avoid print-previewer rejections
- A practical hardcover and dust jacket process (step-by-step)
- Step 1 — Concept and front art
- Step 2 — Finalize artwork and typography
- Step 3 — Get the template for your book specs
- Step 4 — Place art into the template
- Step 5 — Export production‑ready files
- Step 6 — Convert and package for marketplaces
- A practical note on dust jacket flaps
- Hardcover production process with BookAutoAI
- Practical example: a 6×9 non‑fiction hardcover with a dust jacket
- Realistic expectations and quality checks
- Final thoughts
- FAQ
- Sources
Why an AI book cover generator for hardcover books matters
An AI book cover generator removes a major bottleneck in publishing by helping turn an idea into a professional jacket that reads well at thumbnail size and prints correctly.
In non‑fiction, covers are trust signals: they must work on Amazon and in print previewers where trim, bleed, and spine width are validated automatically. For a quick side‑by‑side comparison of tools that handle print layouts, see our Top 10 Book Cover Generator resource Top 10 Book Cover Generator.
AI speeds creative exploration, but front art is only the start: hardcovers require a full dust jacket (back, spine, front, and flaps when used) with exact dimensions that match trim size and page count.
From front art to full dust jacket: dimensions and templates
A full dust jacket is a composite file containing the front, back, spine, and sometimes flaps; it must include bleed and wrap allowance so art reaches trimmed edges.
Key technical factors
Several measurements and file settings determine whether a jacket will pass previewers and print correctly.
Trim size
Common choices (6×9, 7×10, 8.5×11) set the assembled dimensions; the template computes the full width as front + back + spine + flaps when applicable.
Spine width
Spine width is calculated from page count and paper thickness; a 300‑page book on 50 lb paper will have a different spine than the same page count on 100 lb paper.
Bleed
Most printers require 0.125–0.25 in of bleed beyond trim; hardcovers often also need a wrap allowance where the jacket folds over the boards.
Resolution
Export images at 300 DPI to avoid pixelation in print.
Safe zones
Keep titles, subtitles, author names, and critical copy well inside the inner safe area so they aren’t trimmed or lost in the jacket wrap.
Where templates come from
Print-on-demand platforms and traditional printers provide PDF or PNG jacket templates. These templates vary by trim size, page count, paper type, and whether flaps are included.
The reliable approach is to download the platform’s specific template and place AI-generated art into it so titles and barcodes are correctly positioned.
Concept tools like Canva and image-only AI generators are useful for ideas and front art, but they rarely produce a complete, platform‑specific jacket PDF without a separate layout step.
Tips to avoid print-previewer rejections
Previewers are strict; most rejections are caused by small measurement or layering issues rather than design quality. The checks below reduce rejection risk.
1. Start with a template
Place final artwork into the exact PDF template for your service and trim size so spine and bleed are correct.
2. Keep critical elements in safe zones
Avoid placing essential text over spine edges or near flap folds; keep a generous margin around titles and author names.
3. Use correct DPI and color profile
Export print covers at 300 DPI and use CMYK or the color profile required by your printer to avoid conversion issues.
4. Embed fonts and flatten layers if required
Some previewers reject files with missing embedded fonts or complex transparency; convert text to outlines or flatten transparency when requested.
5. Check spine math twice
Spine width depends on final page count; generate the jacket from the final manuscript length and chosen paper to avoid mismatches.
6. Avoid manual guessing
Patches like “extend the front cover by 1/4 inch” are fragile; use the official template or an automated system that calculates spines precisely.
A practical hardcover and dust jacket process (step-by-step)
This production-focused process balances creative freedom with the measurements and exports required for print-ready jackets.
Step 1 — Concept and front art
Use an AI generator to create several front-cover concepts, focusing on clear typography, genre cues, and thumbnail readability.
Choose versions that hold up at small sizes and high contrast.
Step 2 — Finalize artwork and typography
Polish the chosen design: refine type hierarchy, ensure legibility at small sizes, and simplify busy backgrounds.
Keep a margin around key text so it remains safe when moved into the template.
Step 3 — Get the template for your book specs
Decide trim size, paper type, and confirm final page count, then download the exact dust jacket template from your chosen printer or KDP.
Step 4 — Place art into the template
Insert front art into the front panel, extend backgrounds to bleed, fill the back panel (bio or endorsements), and reserve the barcode area per printer guidance.
Step 5 — Export production‑ready files
Export at 300 DPI, use the correct color profile, embed fonts or convert text to outlines, and flatten transparency if recommended.
Run the PDF through the platform previewer to ensure it passes checks before uploading.
Step 6 — Convert and package for marketplaces
Convert interior and cover into required ebook and print formats (EPUB for ebooks, PDF/X or similar for print). When converting to EPUB, verify metadata, front cover embedding, and chapter navigation.
If you use the platform’s EPUB tools, they reduce tagging and navigation errors; many creators link their production pages to a central conversion tool to simplify this step.
A practical note on dust jacket flaps
Flaps add complexity and space for author bios or endorsements. If using flaps, select a template that includes them and keep flap copy well inside safe zones to allow for folding over the boards.
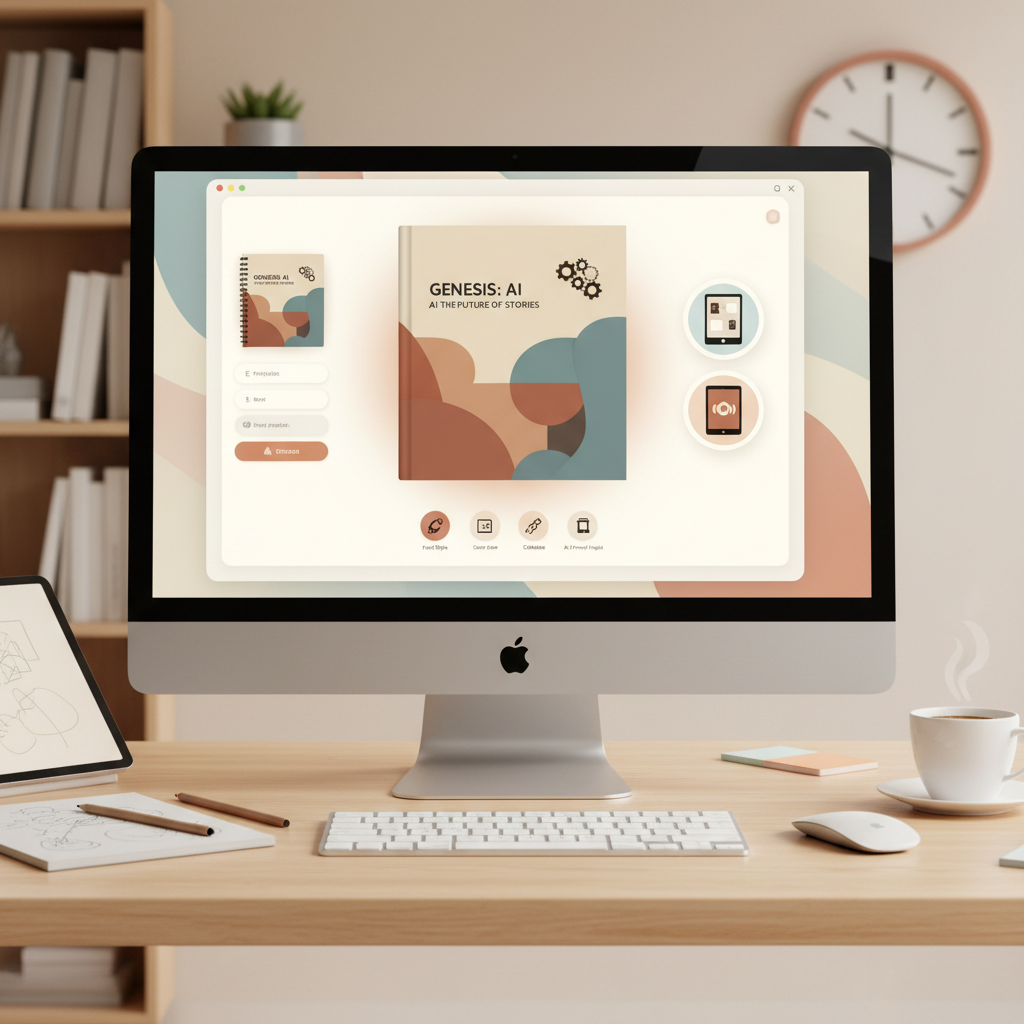
Hardcover production process with BookAutoAI
BookAutoAI is designed to handle cover generation, template placement, and file exports in a production-aware way.
The system treats covers as full jackets rather than standalone images, and its cover generator guides art into the correct jacket layout for your trim size and final page count. Learn more about the platform’s cover generator processing.
Its EPUB tools simplify conversion: the integrated EPUB Converter produces EPUBs with correct metadata, embedded cover, and clean navigation for store previews.
For authors creating ebooks or paperbacks as part of a multi-format release, the platform centralizes outputs so you get a consistent set of upload-ready files from a single place at BookAutoAI.
When uploading to stores like KDP or IngramSpark, many publishers also use a dedicated upload service to handle retailer requirements; for multi-store uploads consider tools such as BookUploadPro.
Practical example: a 6×9 non‑fiction hardcover with a dust jacket
1. Generate or import a 25,000‑word manuscript and finalize page count.
2. Use AI cover generation to explore jacket concepts focused on clarity and genre cues.
3. Specify 6×9 trim and final page count so spine width is calculated and art is placed into the matching dust jacket template.
4. Export a print-ready jacket PDF and an EPUB for ebook distribution, ensuring the EPUB embeds the front cover and includes clean navigation.
5. Upload files to KDP or another printer; a jacket produced inside the matched template reduces previewer rejections.
Realistic expectations and quality checks
Even with production tools, review the final spine text for centering and line breaks and verify barcode placement on the back cover.
If you want tighter visual control over every pixel, create front art in an image-first editor, then import that artwork into a production-aware jacket placement system to combine creative control with accurate exports.
Final thoughts
Hardcover dust jackets are both technical and visual products. AI accelerates creative decisions, but production success depends on matching art to exact templates and export standards.
For authors focused on speed, consistency, and marketplace readiness, a production-aware system that handles cover placement and EPUB conversion reduces manual fixes and previewer rejections.
FAQ
What does “spine width” depend on?
Spine width depends mainly on page count and paper thickness; always generate a jacket using the final page count and chosen paper to get the correct measurement.
Can AI-generated covers be used directly for print?
AI is excellent for front-cover art, but for print you must place that art into a platform-specific dust jacket template with correct spine, bleed, and safe zones.
How do I avoid KDP print previewer rejections?
Use the official template for your trim size and page count, export at 300 DPI with the proper color profile, embed fonts or convert text to outlines, and keep critical text within safe margins.
What files do I need to upload for a hardcover with dust jacket?
Typically a PDF of the full dust jacket (back, spine, front, flaps) and a print-ready interior PDF; for ebooks, provide an EPUB with an embedded front cover—requirements vary by retailer.
Is there a single tool that can handle the entire process?
Yes—there are platforms that integrate manuscript handling, jacket-aware cover generation, and EPUB conversion so you can produce upload-ready files with fewer manual steps.
Should I still check files manually?
Always review final PDFs for spine centering, barcode placement, and thumbnail readability; automated tools reduce errors but human checks catch subtle typographic issues.
Sources
- AI Book Generator: Designing Stunning KDP Covers (Without a Designer) – BookAutoAI blog
- Create Stunning Book Covers Quickly with AI – BookAutoAI blog
- BookAutoAI – Your One-Click Solution for Instant Book Creation
- The Best Amazon KDP AI Book Cover Generator For Productivity – BookAutoAI blog
- AI Book Cover Generator – Canva
- The hardcover book cover generator creates cover templates that are rejected by Print Previewer – KDP Community
AI book cover generator for hardcover books Estimated reading time: 7 minutes An AI cover generator speeds creative iteration but must be paired with exact trim, bleed, and spine math to produce print-ready dust jackets. Produce polished front art with AI, place it in the correct dust jacket template, verify safe zones and 300 DPI,…