How to Design a Book Cover Without Design Skills Guide
How to design a book cover without design skills
Estimated reading time: 13 minutes
- You can make a professional-looking cover without a design degree by using clear genre signals, a single focal point, strong typography, and thumbnail testing.
- Use templates or fast tools like Canva, or try automatic options to save time and ensure marketplace-ready formatting.
- Export correctly for ebook and print—embed the front cover and use a clean EPUB to avoid upload errors.
Table of Contents
- Why a good cover matters
- Core design principles for non-designers
- How to design a book cover without design skills
- Step 1 — Define the promise and audience
- Step 2 — Pick a genre benchmark
- Step 3 — Choose a template or blank canvas
- Step 4 — Select a single focal image
- Step 5 — Typography: Title first
- Step 6 — Color and contrast
- Step 7 — Composition and spacing
- Step 8 — Thumbnail test and revise
- Step 9 — Export and format for platforms
- Practical tips for common scenarios
- Fast options: templates, Canva, and AI cover tools
- Technical export and conversion
- When to hire a designer
- FAQ
- Sources
Why a good cover matters
A book cover is the single fastest signal you give a reader about what’s inside. When someone scrolls through Kindle or Apple Books, the cover and the title decide whether they click or keep scrolling.
For non-fiction especially, covers must communicate credibility, clarity, and the promise of a useful outcome. A messy or trendy-but-incoherent cover can hurt sales even if the content is excellent.
You don’t need a design degree to create a professional look. Understand a few simple principles and use the right tools so the cover reads well at thumbnail size and fits the genre. For a quick list of strong tools, see our Top 10 Book Cover Generator.
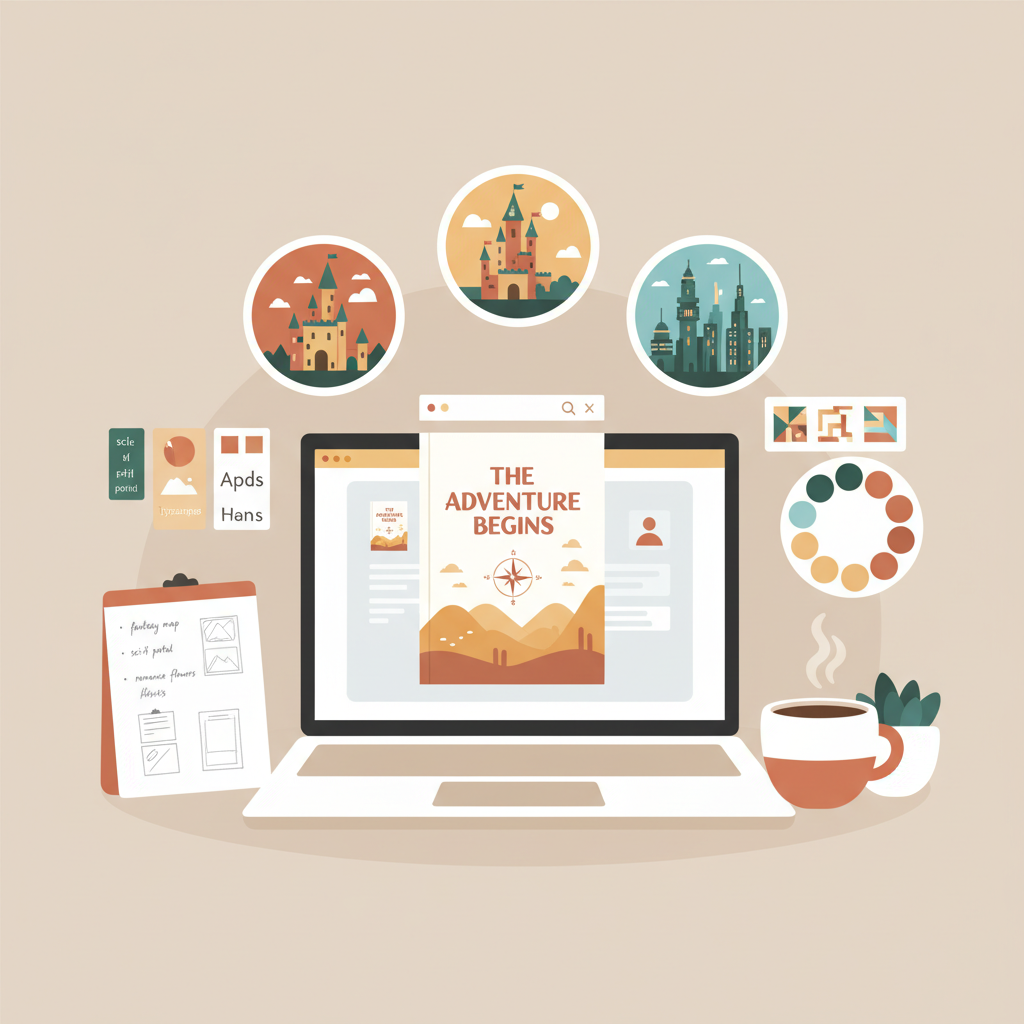
Core design principles for non-designers
Before you open a template or an editor, lock down the basics. These principles are lightweight but powerful.
- Signal genre clearly: Match familiar fonts, palettes, and imagery in your niche so readers instantly recognize the category.
- One focal point: Use a single strong visual element—a photo, an illustration, or bold type—and avoid clutter.
- Clear hierarchy: The title must be the easiest thing to read at thumbnail size, then subtitle, then author name.
- Readability at thumbnail size: Shrink designs early and often; simplify if the title becomes unreadable.
- Minimal color palette: Two or three colors usually suffice; use contrast to make text pop.
- Use stock photos and simple graphics: High-quality, simple images are safer than busy patterns.
- Avoid trendy clutter: Ornate effects can date a design and obscure the message.
How to design a book cover without design skills
Step 1 — Define the promise and audience (5–10 minutes)
Ask who the book is for and what it delivers. Turn that into a one-line benefit statement and let it drive typography and imagery.
Example: “A clear, fast guide to organizing home paperwork” suggests clean sans-serif fonts and calm colors; “A no-nonsense business handbook” leans toward bold type and high contrast.
Step 2 — Pick a genre benchmark (5–10 minutes)
Browse the top 10 books in your category on marketplace sites and save two or three covers that feel right. Note color schemes, image styles, and typography. These become your visual references.
Step 3 — Choose a template or blank canvas (5 minutes)
Templates remove guesswork. If you use Canva or similar editors, start with a template that matches your genre; most templates already follow thumbnail-safe layouts and hierarchy.
Step 4 — Select a single focal image (10–20 minutes)
Pick one photo or graphic that communicates the promise. Prefer simple images with negative space for the title. For photos focus on high resolution, calm backgrounds, and clear facial expressions for personal stories.
Step 5 — Typography: Title first (10–15 minutes)
Type choices make or break a cover. Use one strong display font for the title and a complementary font for subtitle and author. Increase letter spacing slightly for short titles and, if necessary, place the title on a solid block or gradient to preserve contrast.
Step 6 — Color and contrast (5–10 minutes)
Keep the palette tight: a base color, one accent, and a neutral for text. For non-fiction, muted or professional tones (blues, grays, warm neutrals) often work best. Use the accent to highlight a key word or subtitle.
Step 7 — Composition and spacing (10 minutes)
Apply generous margins and hierarchy. Let elements breathe and keep the outer edges clear so nothing gets cut off in thumbnails or print trims.
Step 8 — Thumbnail test and revise (5 minutes)
Shrink your design to 1–2 inches wide and check readability, focal clarity, and whether it fits the category. If something fails, simplify: larger type, less image detail, stronger contrast.
Step 9 — Export and format for platforms (5–10 minutes)
Export high-resolution covers for print and web. For ebooks aim for 1600–2560 px height at 72–300 dpi saved as JPEG or PNG per platform requirements.
If you prepare an EPUB, embed the front cover properly and verify metadata; using a tested EPUB converter can automate metadata, embedding, and structure so previews and uploads succeed.
Practical tips for common scenarios
Short title or long subtitle: Consider a stacked layout with a bold short title line and the rest as subtitle.
Non-photographic covers: Use geometric shapes, texture, or simple illustrations but keep a single focal point.
DIY hacks: Use light filters and a subtle vignette behind the title to help type stand out.
Fast options: templates, Canva, and AI cover tools
DIY templates (free or low-cost)
Canva and other drag-and-drop editors are ideal for beginners. They provide ready-made templates matched to genres, easy font pairing, and quick exports. With practice many creators produce a marketplace-ready cover in 30–60 minutes.
Checklist for Canva: pick a genre-matched template, replace the sample image with one focal photo, adjust title size and spacing for thumbnails, add a solid panel behind text if needed, then export web-optimized JPEG for ebook and high-res PDF for print.
Semi-custom and paid tools
Paid tools like Adobe Express or BookBrush offer larger asset libraries and finer control. They include commercial-use assets and higher-resolution exports, which is useful if you plan many titles or want consistent quality.
Automatic cover generators (speed + marketplace readiness)
If speed and marketplace correctness matter more than micromanaging design choices, automatic cover tools are the shortest route. A modern cover generator trained on top-selling designs will produce typographically sound, genre-appropriate covers with proper hierarchy and thumbnail readability.
For authors who want an integrated approach—cover, manuscript formatting, and a clean EPUB—many Book creation tools combine cover generation with converters and metadata handling so files preview and upload correctly.
Technical export and conversion: avoid the last-mile errors
A common failure point is export and upload. Wrong color profiles, missing metadata, or a misstructured EPUB can cause platform rejections or bad rendering.
Use a tested EPUB converter to ensure correct metadata, a properly embedded front cover, and clean chapter structure and navigation.
If you upload to retailers like KDP, Kobo, or Apple Books, use reliable book upload tools or converters that prepare files to the required specs.
When to hire a designer
Consider hiring a designer when the cover is central to a larger marketing push, you need custom illustrations, or you plan a series and want a reusable system.
If you’re publishing one or a few non-fiction titles and value speed, templates or an automated cover generator are typically more cost-effective than custom design.
FAQ
Can I really make a professional cover in Canva with no design experience?
Yes. Canva’s templates and editor are designed for beginners—follow the core principles and use a genre-matched template to avoid common mistakes.
How do I make sure my cover looks good as a thumbnail?
Shrink your design to 1–2 inches wide and test readability. Increase title size, simplify the image, add a panel behind text, and boost contrast if necessary.
Are automatic cover generators trustworthy for non-fiction?
For many authors, yes—especially if the generator is trained on successful covers and optimized for readability and marketplace expectations.
Do I still need to check print trim and spine for paperback?
Yes. Ebook covers are single-front images; print covers need exact dimensions for front, back, and spine based on page count. Use print templates and verify dimensions before uploading.
What file format should I use for Kindle?
High-resolution JPEG or PNG that follows the platform’s size recommendations is typical. If you produce an EPUB, embed the front cover and ensure the file passes platform checks.
Sources
- https://www.youtube.com/watch?v=WTIsRRZU5WA
- https://thewritelife.com/how-to-make-book-cover/
- https://creativecornerstones.com/2025/09/15/how-to-create-a-professional-looking-book-cover-diy-design-dos-and-donts/
- https://reedsy.com/blog/guide/book-cover-design/how-to-design/
- https://www.abbiee.com/2019/08/design-book-cover/
- https://www.canva.com/learn/book-cover-ideas/
How to design a book cover without design skills Estimated reading time: 13 minutes You can make a professional-looking cover without a design degree by using clear genre signals, a single focal point, strong typography, and thumbnail testing. Use templates or fast tools like Canva, or try automatic options to save time and ensure marketplace-ready…